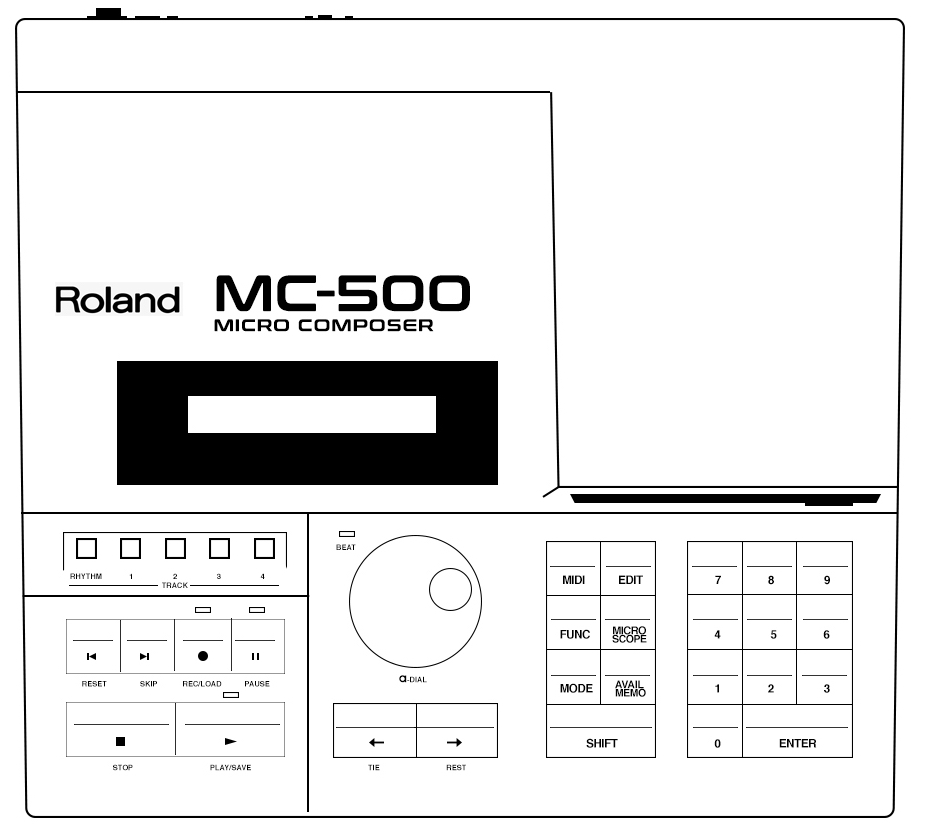

Sunshine Jones gives his account of his experiences upgrading the LCD display of his Roland MC-500 to an OLED display. This post originally appeared on Sunshine’s website.
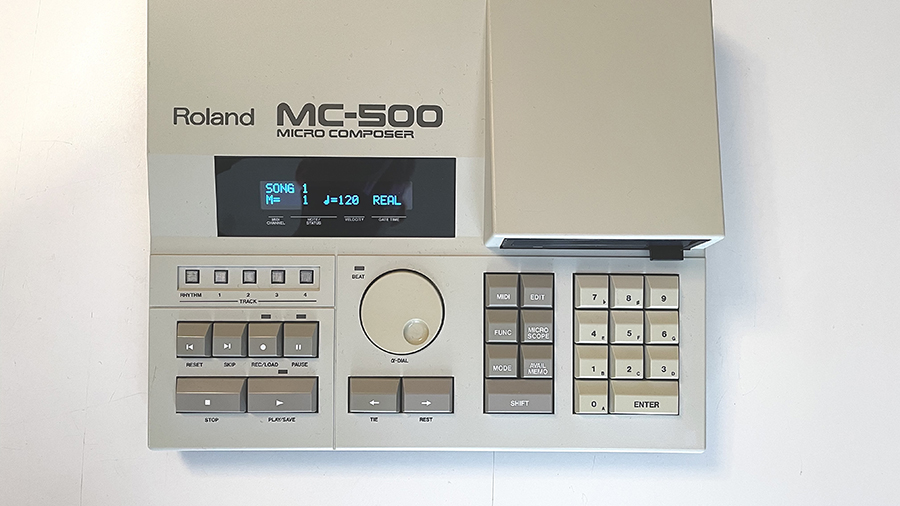
The LCD display screen of my Roland MC-500 had seen better days. I opened it up to take a look and considered that I could potentially replace the light from behind the LCD and improve things, but these have a tendency to dim and die so I wondered if there might be a better way. My friend John Topley recently scored an MC-500 with an OLED screen and I was very curious. I looked around and found people selling $50 replacement back lights, and $100 kits for the OLED display. That seems excessive to me for a fairly unpopular sequencer upgrade/restoration and so I continued and found AMSynths had done a lot of cool updates to their MC-500 and so I looked for their suggested Newhaven 2×20 NHD-0220D2W-ABJ drop in replacement OLED. Sadly this part isn’t made anymore. I wrote to Newhaven (three times) asking if they made a suitable replacement and they never replied.
Then my friend John let me know that his particular OLED is actually a Newhaven NHD-0220DZW-AB5. This is a part which is still available. I found one on Mouser’s site for $28. So I ordered it.
Here is the process of replacing the original LCD display assembly with the Newhaven NHD-0220DZW-AB5 replacement OLED:
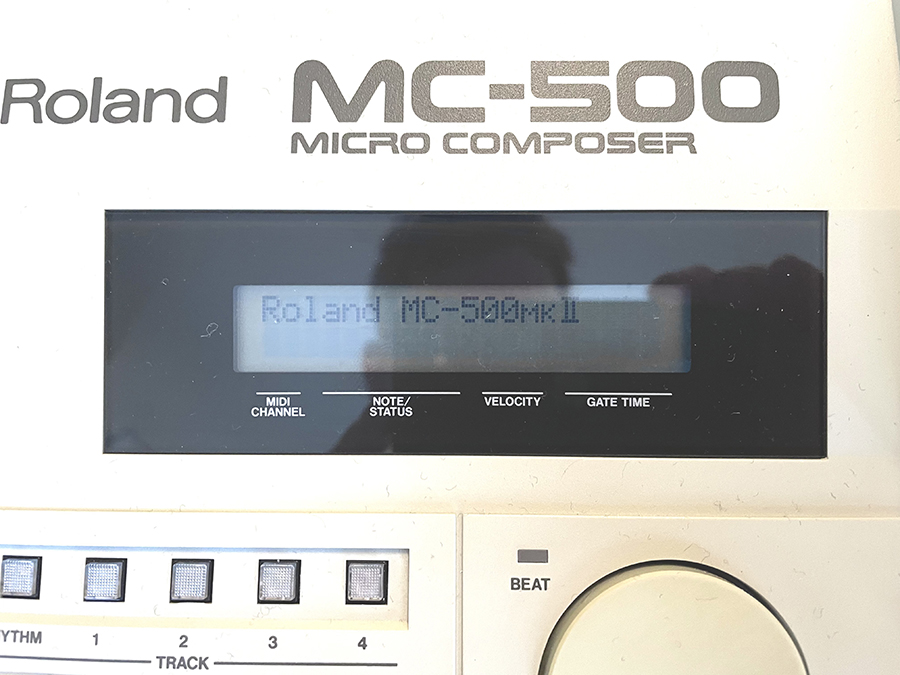
This is the original LCD assembly from the stock Roland MC-500 and MC-500 Mk II
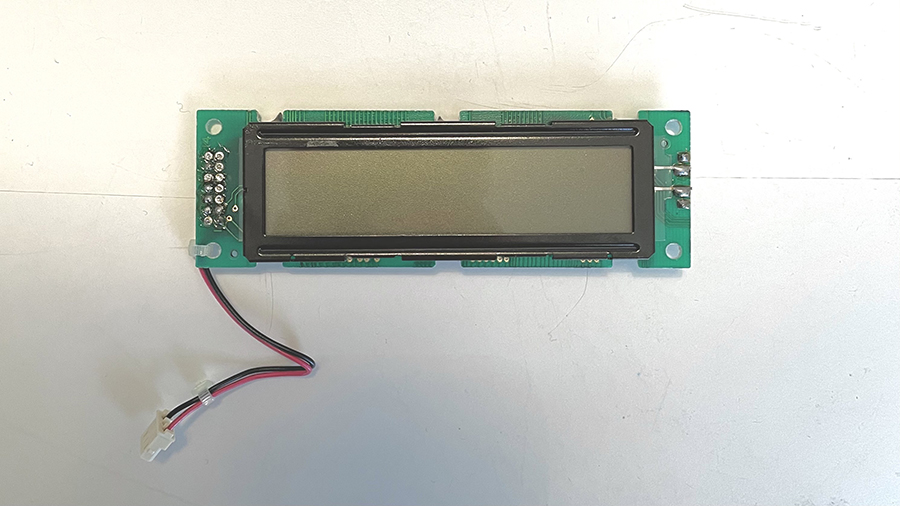
This is the original LCD assembly removed. It comes out by disconnecting the power connector from the power supply, removing two screws, and then slipping the assembly out of the two plastic clips which hold it in place at the bottom.
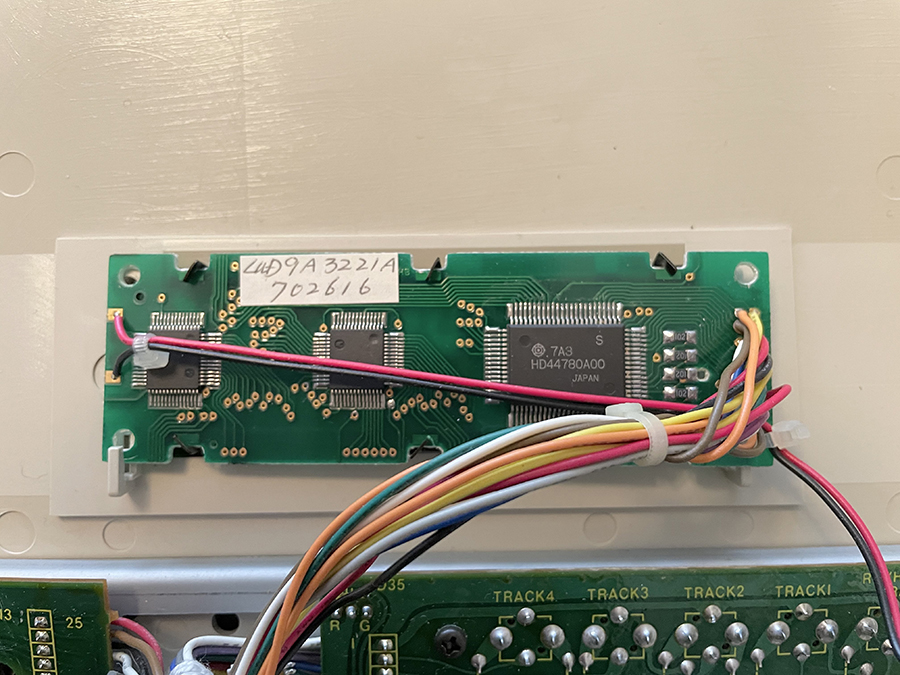
This is the reverse of the assembly while still mounted. Note the screws on the top, and the plastic pieces which hold it in place on the bottom.
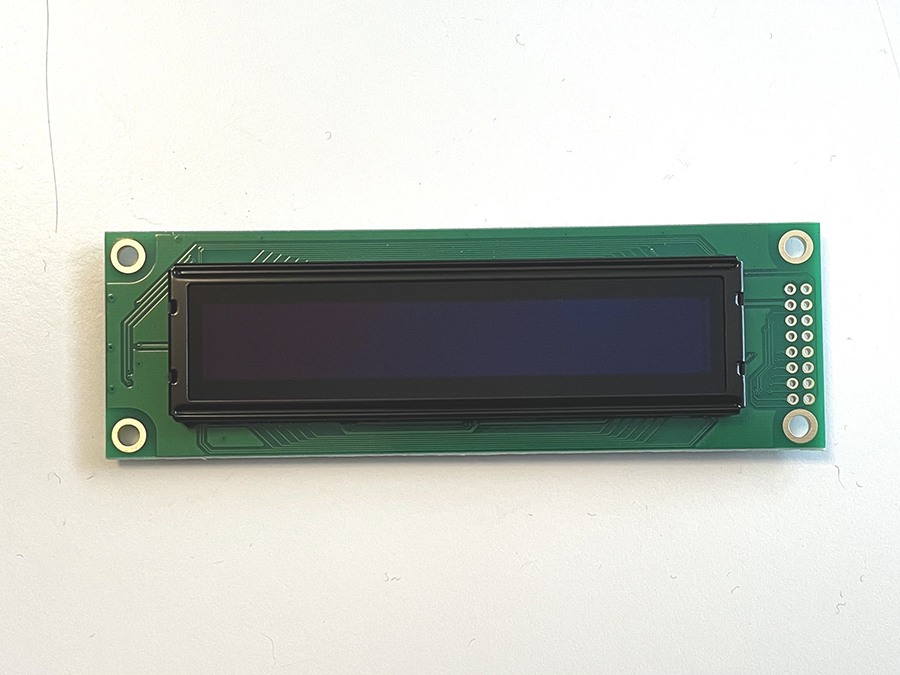
This is the Newhaven NHD-0220DZW-AB5 replacement OLED from Mouser.
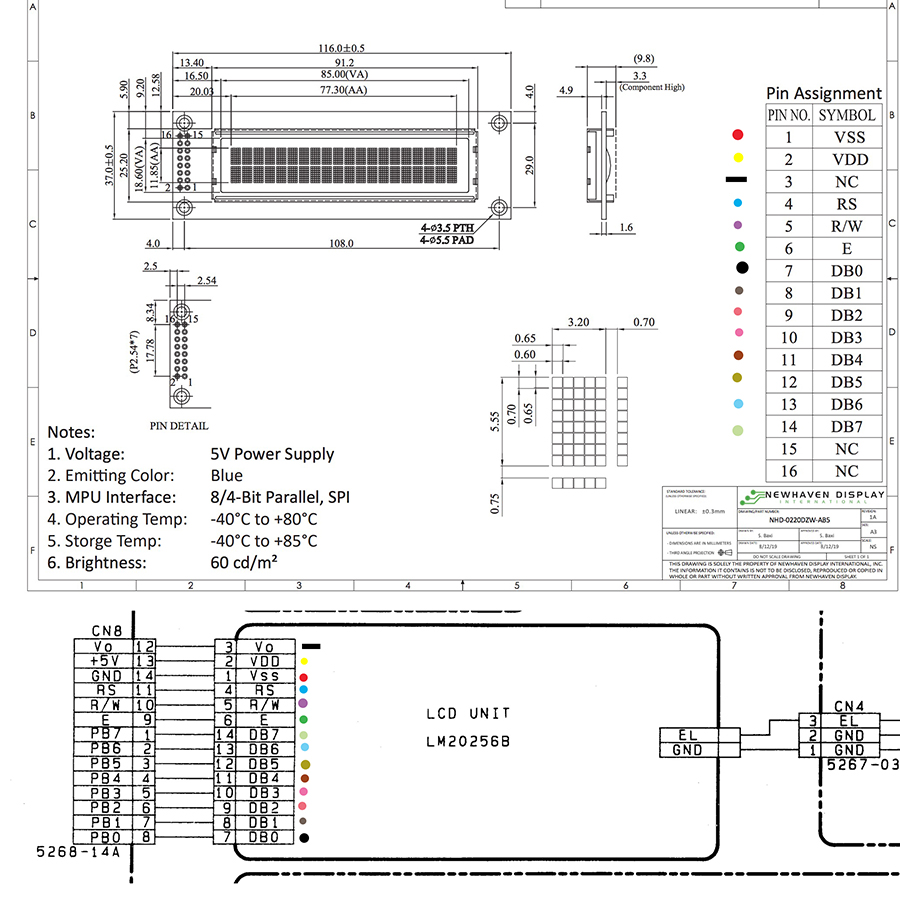
Now it gets interesting
It’s a drop in replacement, but if we just haul off and desolder all the wires chances are we will make a mistake. So I compared the schematics for both the replacement (above) and the original (below) and the pins all match up.
The pin out starts at the bottom and the stack, so 1 is below 3 and 2 is below 4 like this:
º 16 º 15
º 14 º 13
º 12 º 11
º 10 º 9
º 8 º 7
º 6 º 5
º 4 º 3
º 2 º 1
Note that the original LCD assembly doesn’t use pins 15 and 16. They are just left unpopulated. Also note that pin 3 is used on the original LCD but it is marked as not used on the new OLED (I connected it anyway.)
How I did this was I simply went one pin at a time, removing a wire from the original LCD, and then connecting it to the corresponding pin on the new OLED. One by one until they were all connected.
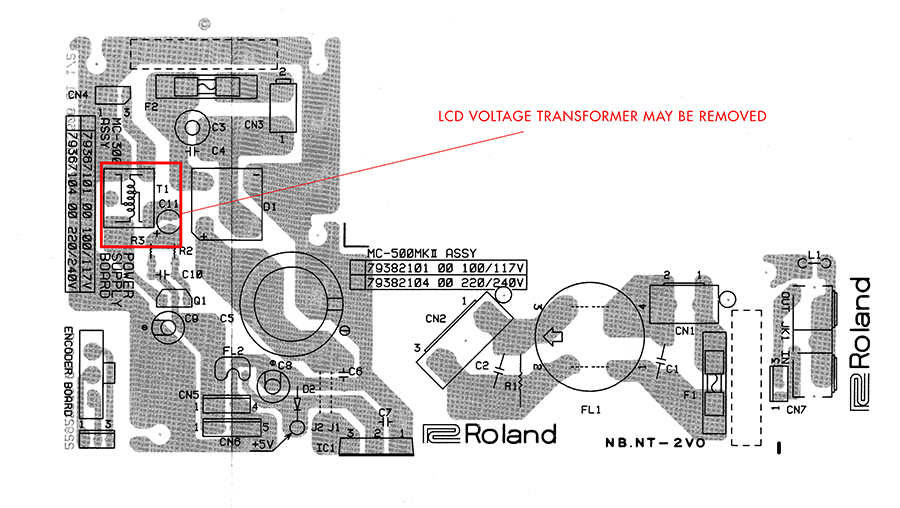
You can also remove the voltage transformer from the power supply board (see above here). You don’t need additional power for the new OLED, so if your VT is noisy (which sometimes they are) you can remove these parts. I left mine in because they aren’t noisy, and also I never know what I’m going to do, and am often so smitten with stock things that I may at some point want to restore it to stock and that might be handy to still have these components in place if that strange day ever arrives.
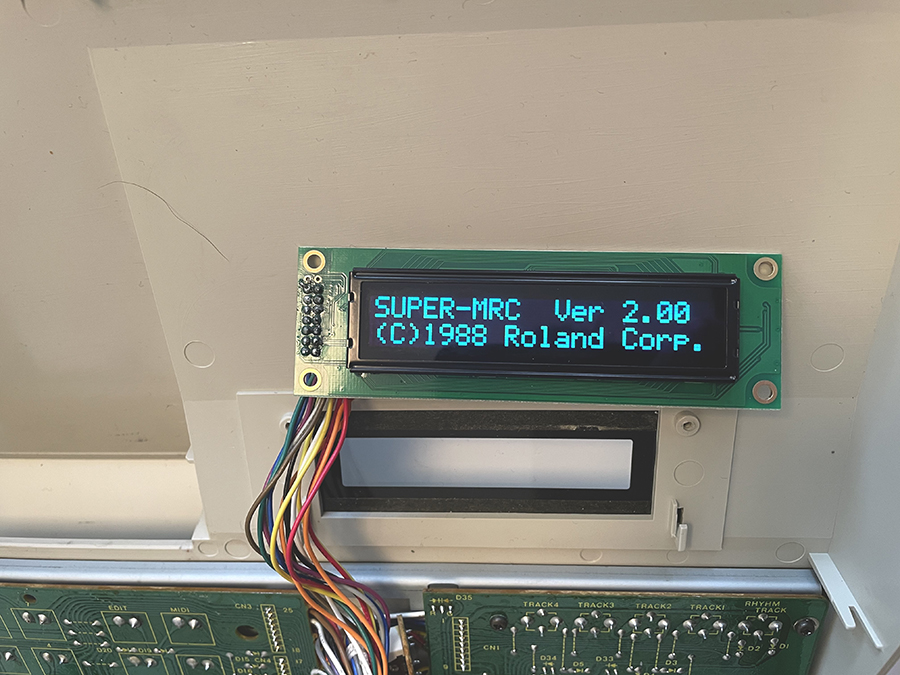
So then it was time to test it.
At first attempt it was a thrill to see Roland MC-500 MKII across the screen (mine is actually an MC-500 upgraded with the OM-500 motherboard to present a MC-500B – effectively the same as a Mk II with more RAM, and a different processor) but then it went dark. Typically the screen says “no disk, please insert it!!!” or something like that, but it didn’t. It was just dark.
So I took a closer look at my soldering, and found three or four manky connections which I fixed, and then I tried it again, and everything was perfect.
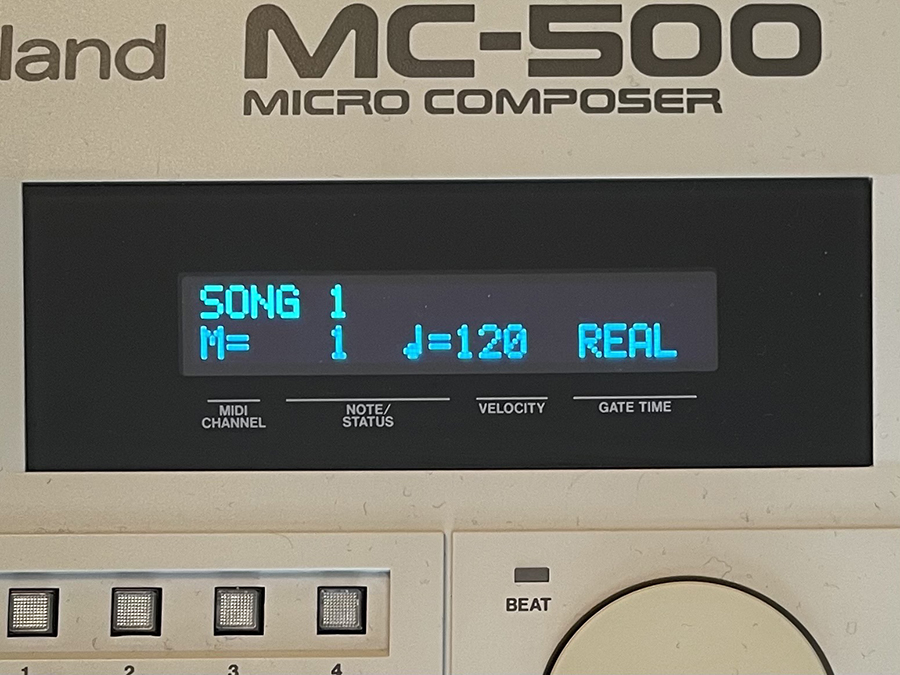
This is the final result, installed, assembled, and working. Lights up beautifully, fits in perfectly, and looks just wonderful. $28 and time well spent. Much improved!
I hope this inspires you to improve your circumstances, and helps you to make music, and restore these wonderful things we love so much.
Enjoy!